Showing posts with label Decorating. Show all posts

Thursday, September 22, 2016

September Kitchen Decor

 
"When you change the way
you look at things, the things
you look at change."

~ Wayne Dyer ~


I just salvaged this rusty metal bucket from a farm dump! The bottom's rusted away, but you can't even see it. I placed a wide glass vase inside for wildflowers.


This pastel pitcher sat in my booth 
for months before I decided to bring it home.
I was glad to have it handy for an 
overflowing bouquet of hydrangeas.


One of the first ways I decorated our 
home for fall on a budget was with apples.
They used to be growing in our backyard. 
Now I just pick them up at the grocery.


This rusty wire wreath was a 
flattened oval jumble when I found it.
I carefully pulled it into a wider oval shape.
It's hanging on a clear pushpin.


My husband found these insulators in a ditch! 
Took quite a bit of scrubbing, but now they're 
colorful focal point on the countertop (or windowsill).


Just by bringing in a few fresh elements,
I now feel so much better about my kitchen. 
Ready to do some baking and welcome fall!

How about you... are you ready for
the change of season?

Friday, October 11, 2013

1917 Farm Alphabet

I found this beautifully illustrated
farm alphabet in the back of Farmyard
Favorites. The original book was
published in 1917, and is 13.5" x 9.5."
I cleaned up and reduced the images
to 8" x 10" for printing.

Wouldn't they look sweet in a nursery?

 I've used the front and back cover
images of Farmyard Favorites here.
Hope to share more from this book
with you in the future!


Thank you for stopping by!

Monday, October 15, 2012

French Perfume Label ~ project & printable

I've been thinking up ideas
for Christmas projects. After
sharing one of my ideas,
Mom offered a simple glass
canister she didn't use anymore...


 First, I designed a label using
images from The Graphics Fairy.
  
 
I printed my labels onto
cardstock & cut them out. 

Next, I used slightly watered down
white glue to make an imperfect outline
of the beautiful scrolling border,
and dusted with gold glitter.

Using the same glue (you could
use Mod podge - whatever you like)
I centered and glued the label
onto the clean canister. 

I then used clear acrylic sealer
over the label, to protect it
from water damage, etc.


 Originally the lid had
large, rusty star and wooden
spool on top. All I had to do was take
out the screw that held them in
place and replace with a metal pull.


It looks so pretty used as a vase. Would also
be great filled and given as a gift.

Please enjoy, free for personal use ~ thanks


Linked up with:


Sunday, April 1, 2012

Daffodils & Spring Blossoms

"Lord, make us
mindful of the little
things that grow &
blossom in these days
to make the world
beautiful for us."

~ W.E.B. Du Bois ~


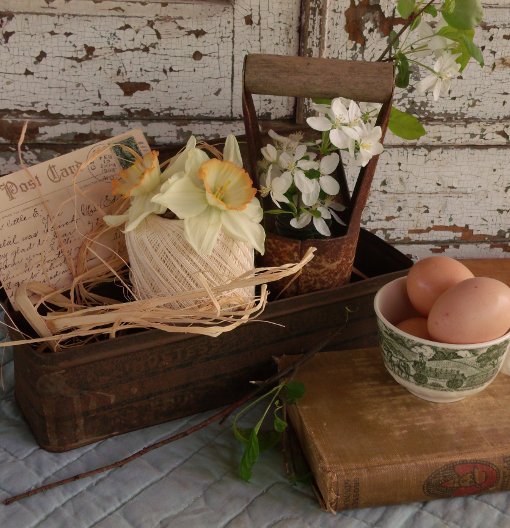
My daughter and I decorated
this area of our porch, for fun.
We looked around the house. New or
old... complete your display with
a few daffodils & spring blossoms.

I'm linking up with Angie for
Knick of Time Tuesday


Thanks for stopping by!
Have a great day!

Wednesday, March 7, 2012

Pretty Spring Vignette

"It was one of
those March days
when the sun shines hot
and the wind blows cold:
when it is summer in
the light, and winter
in the shade." 

~ Charles Dickens ~


Set up this spring vignette in my daughter's
room & stuck to a gardening theme: watering
can, hydrangeas, floral teacups, and miniature
picket fences (behind the postcards)

"The day the Lord created hope
was probably the same day
he created Spring."
 
~ Bern Williams ~


Tuesday, December 27, 2011

Re-purposed Centerpiece

Yesterday I happened across this post at The Vintage Bag Lady blog.  The beautiful pictures inspired me to create a re-purposed centerpiece of my own. I loved the idea of placing a pillar candle at the base of a vintage metal loaf pan, so that was my starting point...

This loaf pan isn't perfect... a while back
I winced upon discovering it'd developed a
circle of rust. Used in this way, the rusty
imperfections glow in the candlelight.


This metal cup/scoop was a Christmas gift.
First, I placed the open handle over a side
of my wooden box (actually an old drawer
found in the barn). In went a candle, then
a little rosehip potpourri.


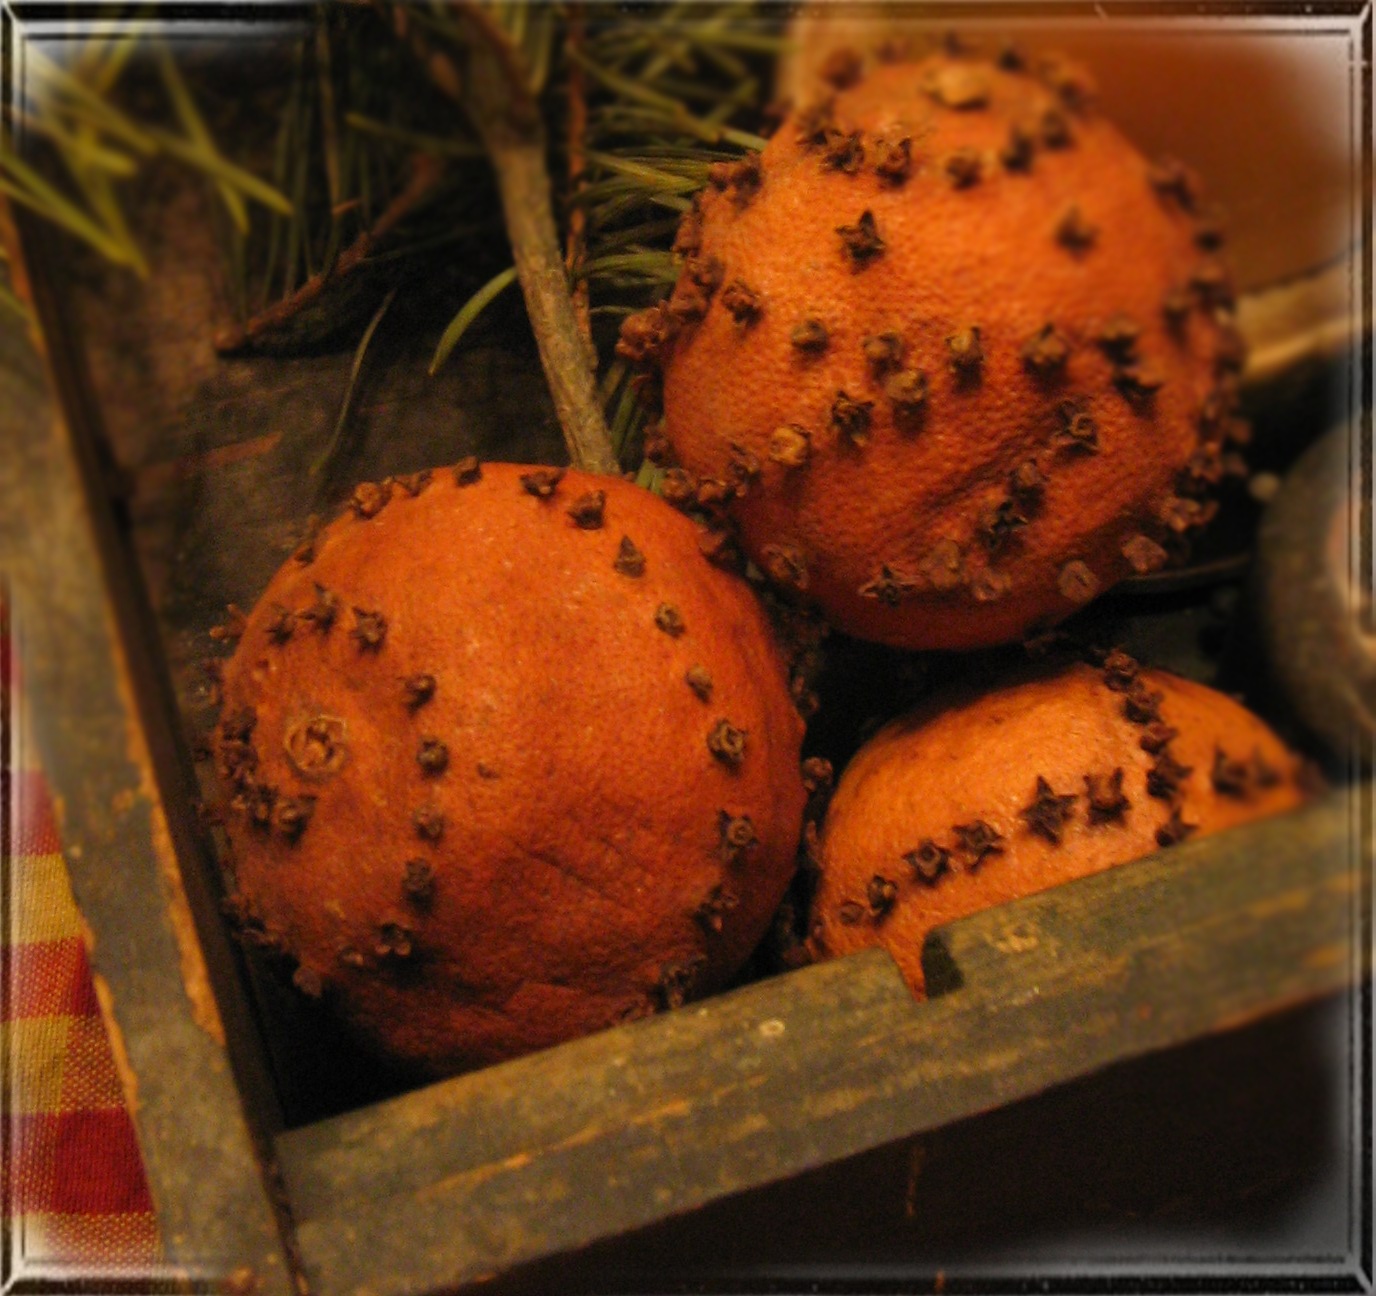
Orange pomanders: 
Use a small nail to poke a pattern in
the orange peel (try not to go too deep).
Push whole cloves through those holes
and dust with cinnamon. Rotate fresh
pomanders until they dry evenly.


I elevated white candles on a few old
metal pieces: a small cup, and the filter
from an enamelware coffeemaker. Added
a few sprigs of pine, and that was it!


"Nothing is what it was intended to be, 
in the hands of a creative person."
  
~ Steve Supple ~

Wednesday, November 23, 2011

Wintry Wreath


I originally created this wreath with Thanksgiving in mind... 
but as I went along, I opted not to use color,
so it turned out looking like a wintry wreath instead.


Here's what I used to make it:

1 paper plate
2 or 3 sheets of white paper
scallop-edged scissors
black watercolor/fine-tipped brush
white glue
white glitter
ribbon

First I cut out the center of the paper plate.

Next, I started cutting out my leaves.  
The larger leaves in the back rows measure about 4" by 2".  
The small leaves in the front are about 2" by 1".  

I used 18 large leaves (9 with words), 
and 10 small leaves (2 are hidden behind the ribbon).

I then used black watercolor to paint words 
that represent a few things I'm thankful for.

Here's an illustration to show what I did in the next steps:
 I placed the paper plate upside down on the table. 
Next I arranged the large leaves ~ the pattern I used was: 
plain leaf, with word, plain leaf...  

I then glued them down
~ using as little glue as possible ~
covering the inside edge.

I glued the small leaves down over the plain leaves,
and slightly curled the edge for some dimension.

I used glue and glitter to make designs on the leaves like this:
The final touch was finding the right ribbon to hang my creation.
This September, I was a bridesmaid in my brother's wedding.
That silvery, satiny ribbon once wrapped around the bouquet I carried. 

Isn't it beautiful?
 
I knew I'd find a good use for it!

 
Hope you enjoyed this simple wintry wreath...
I'm thankful you stopped by!


"Winter is the time for comfort... 
it is the time for home."

~ Edith Sitwell ~

Wednesday, October 26, 2011

October's Beauty

"There is no season when 
such pleasant and sunny spots may be lighted on, 
and produce so pleasant an effect on the feelings, 
as now in October."
~ Nathaniel Hawthorne ~    

Every day I notice a little less color beyond my window panes.  
In an effort to preserve a bit of October's beauty, this morning, 
I grabbed a jacket and headed outside.  I visited a few golden maple trees, 
a mixed up forsythia, which always blooms in Autumn 
instead of Spring, and my hydrangea bush.  

Once I'd gathered the branches and blooms, and after I'd enjoyed a little walk around the yard, I came back indoors.  Originally I'd wanted to make a kitchen table centerpiece, but soon realized everyone would probably be eating on their laps if I used the large branches... so I moved on to my blanket chest in the corner.  Much better.  There was more room to spread out and be dramatic.


I started with an old wooden tool carrier, and placed 3 large canning jars inside.  Next I dusted off my blue kitchen scale, added a shallow dish with apples on top, and set that to the right of the carrier.  An old tin, with 3 candles inside, went in front and slightly to the right.

I added water to the canning jars, and re-cut the branches at a 45 degree angle, then smashed the ends with a hammer.  I know it seems like a lot of trouble to go through for a few branches, but it makes the arrangement last longer, so...  After the branches were arranged to my liking, I added hydrangea, but grouped them more toward the left/center, to balance the tin and scale on the right.


I gathered up some little green gourds my mom gave me... they harvested quite a crop from their compost pile... and placed those around the tin.  There were leaves all over the floor from the branches.  Too pretty to waste, I used them as filler... tucked in here and there next to the apples and gourds, or placed between the branches.

A few things to remember ~ always keep leaves and flowers 
a safe distance back from burning candles, 
and of course, never leave them burning unattended. 


Hope this inspires you to look outside your window 
and bring a touch of October's beauty in to your home as well...
before it's too late!


Tuesday, September 27, 2011

Useful Again


I've had this dark green, rooster-painted box with drawers for about a year now.  My mother-in-law gave it to me in the hopes that I'd figure out a way to give it a facelift.  Upon looking it over again today, I realized I just wasn't in the mood for sanding and painting...


For now, all I wanted to do was create an easy autumn display.  So I cleaned the box off, removed the drawers, and placed two glass canning jars inside. 


Then I picked a few pretty stems of marigolds and mums to form my bouquets.  The gourd came out of my daughter's garden.  I moved this from the table to a corner so you can't see the rooster who's still perched on top, upside down.  I'll save the complete redo for another day... still have the drawers too.  For now, it's just nice to make this little wooden box useful again. 


Hope you have a great day...
and find something to make useful again 
in your own home as well!


Wednesday, September 7, 2011

Nearly Trash to Treasure


Last fall I went to my grandma's yard sale ~ and came home with two children's chairs in the back of my car.  They were a cute pair, but in need of a little love.  I took them home with good intentions, but after my attempts to fix them didn't work as well as I'd hoped, I set them aside (and eventually outside) for another day. 

Another day came yesterday, when, after finding inspiration (thank you Lori!) I finally figured out what to do with one of the chairs... the one that had really fallen apart & was actually heading for the curb this week!

Here are some pictures taken throughout the process:


First I sanded away the old, peeling varnish, and wiped the chair clean.  Next I found paint* in a pretty autumn color ~  and used a foam brush to apply it in light coats.  I then positioned a large vase under the chair and filled it with hydrangeas.  The sign placed across the back was from an old fruit crate... added to cover the empty space and add interest.

*I used a mis-tinted (oops!) latex paint sample from a home improvement store (only 50 cents!) from my mother-in-law ~ thanks Nida! 

After it was finished, I moved the little chair back inside to a place where it'll be safe from the curb ~ for hopefully some time now.  Just glad I didn't throw out this little chair... it just went from nearly trash to treasure! 


Creativity is contagious
    Pass it on.”  

~ Albert Einstein


Wednesday, August 31, 2011

Something from Nothing...


 Sometimes I look at something and see potential... but for what?  I think it over and over, only to come up empty.  Today, I went out to the barn to feed our cows and saw a bent, rusty old light cage ~ once used to protect a light bulb.  I've passed it by several times with a quick thought of... I should use that somehow.  Ignoring the urge to just pass by again, I picked it up and brought it inside.

After looking around the house for inspiration, I came across a crystal bell in my daughter's 'glass collection.'  I recently bought it for $3 at the thrift store.  It's ball-shaped 'ringer' fell out on the car-ride home... so, turned upside down, it was a perfect fit in the light cage ~ for a vase.

Then I just needed something to hang it with, so ... after successfully scavenging for twine among my gardening supplies ... I cut it in to 3 equal lengths (always cut more than you think you'll need ~ for any project).  I tied the twine around the top of the light cage, spaced as evenly as possible, and then secured the pieces at the top in a loop to form a hanger.

From there I placed the upside-down bell inside, filled it with water and flowers, and hung my creation next to a window.  I think it'll be a nice place to display delicate blooms from my garden that might otherwise get overlooked.


I realize you might not have everything on hand to make this hanging vase, but maybe the bigger take-away is ~ it's good to try and see potential in 'useless' objects, and create something from nothing.  If your ideas don't work out the first time, just keep looking and you're sure to find something to save!

GOOD LUCK, and HAVE FUN!!


“It is better to have enough ideas for some of them to be wrong, 
than to be always right by having no ideas at all.” 
 
~ Edward de Bono